Preview in Excel before of printing documents
The previewing pages before printing – is a very useful tool. It allows you to see how the data on the sheet will be displayed after the document is printed. Thanks to the «Preview» tool, we can check in advance whether the document meets our requirements.
If necessary, you can fix the flaws and customize the presentable view before printing. This saves time and money spent on defective paper printing.
The Excel Preview Tool
To view and prepare the document before printing, let's take as a sample price from the previous lesson. To make a preview:
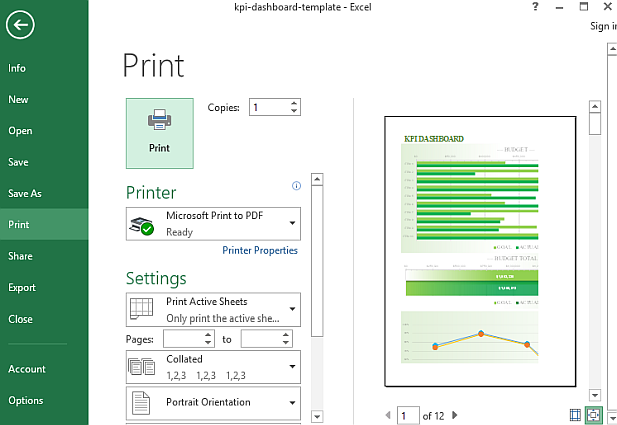
- Select «File» – «Print» (or press the combination of hot keys CTRL + P). The print control options are displayed in the appeared window, and in the separate panel on the right a preview of the document's printing is displayed.
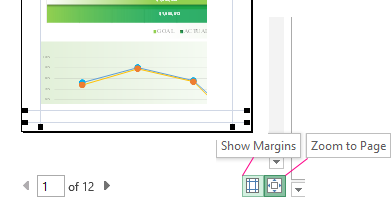
- To increase the size of the document's preview printing, click on the button in the lower right corner of «Zoom to Page», and to exit this mode, click on the button again.
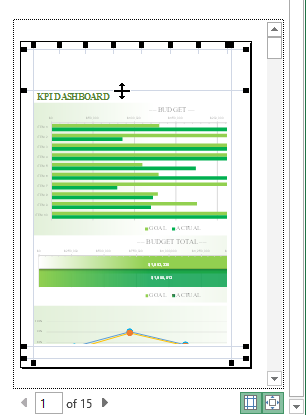
- To customize the fields, click the «Show Margins» button. This button is also located in the lower right corner. In this mode, not only are the fields displayed, but tools for managing ones are also available. To change the print borders in Excel, you need just to place the mouse cursor over any field and move it to the desired position. Thus, you can adjust the size of the fields directly from the preview of the document.
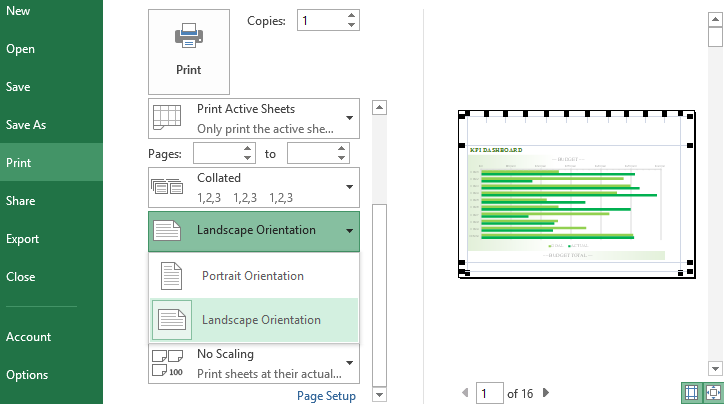
- In the middle panel select the option «Portrait orientation» from the drop-down list and change it to «Landscape orientation».
Now you can click on the big «Print» button.
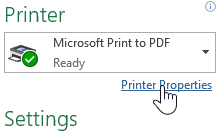
Then the settings window for your printer appears. There everything depends on the model and type of printer. If necessary, enter the desired parameters. For example, two-sided printing in Excel. If your printer supports this feature, then you will have the option to select it in the Excel settings. It reads the capabilities of the printer from the driver and adds the switch options «Two-sided printing / Single-sided» to the parameter section, but it is better to use this function in the printer settings. Since the information from the driver is read only once when it is installed in Windows. Click on «Printer Properties».
If the printer does not support duplex printing, then you need to specify in its settings:
- To output only odd pages - 1, 3, 5, 7.
- To rotate the printed pages with the blank side up and insert ones back into the tray with the header forward.
- To output only even pages - 2, 4, 6, 8.
The advice. Use the two-sided printing function not in the Excel settings, but in the parameters and printer settings.
Attention! There are personal configure printer settings for each sheet. If you want to print several sheets, make ones all active before sending them to print. While holding down the CTRL key, click on each sheet that you want to print.
Then you need to click OK. The document will be printed and the appearance will be the same as in the preview.
